
To make yogurt in your multicooker, start by selecting fresh milk and adding a probiotic starter or plain yogurt with live cultures. Heat the milk to 180°F to pasteurize, then cool it to around 110°F before stirring in the starter. Set your multicooker to the yogurt setting and incubate for 6 to 12 hours, ensuring the lid stays closed. Once finished, refrigerate the yogurt for at least a few hours. If you’re interested in perfecting your technique, you’ll find tips on achieving the best flavor and texture.
Key Takeaways
- Use fresh, high-quality milk and a reliable starter culture for best results.
- Pasteurize the milk by heating to 180°F, then cool to about 110°F before adding the culture.
- Incubate the mixture in the multicooker set to yogurt mode for 6-12 hours without opening the lid.
- Check the yogurt’s texture and flavor, adjusting incubation time for desired thickness and tartness.
- Store finished yogurt in airtight containers in the refrigerator for up to 10 days.
Gathering Your Ingredients and Equipment
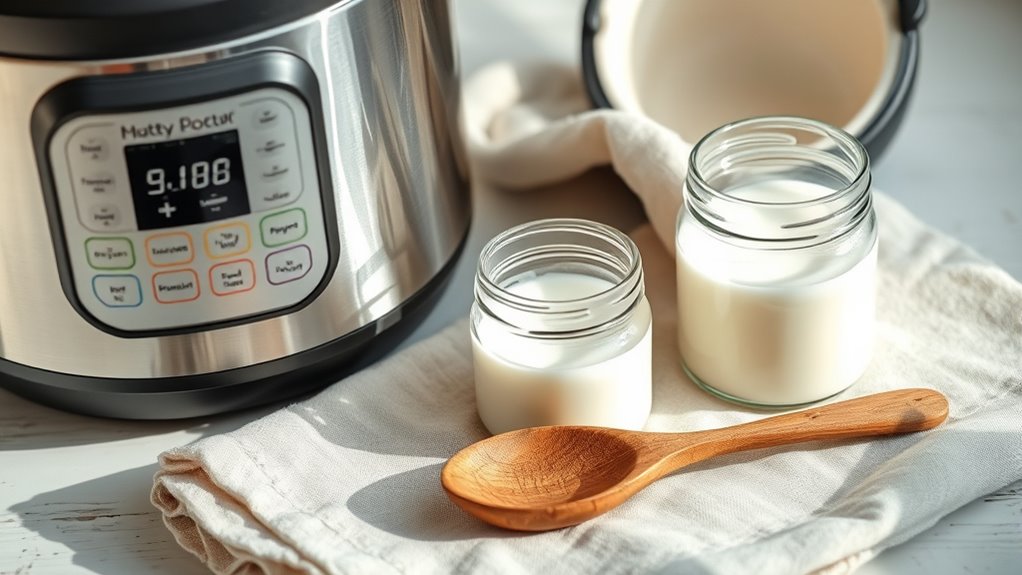
Before you begin making yogurt in your multicooker, gather all the necessary ingredients and equipment. Start with ingredient sourcing by choosing fresh, high-quality milk and plain yogurt with live cultures. Opt for organic or store-bought options based on your preference and availability. When it comes to equipment selection, verify your multicooker has a yogurt or ferment setting. You’ll also need a large mixing bowl, a whisk, and clean jars or containers for incubating the yogurt. Having everything ready will streamline the process and help prevent interruptions. Double-check that your equipment is clean to avoid unwanted bacteria. Ensuring your ingredients are high-quality and properly prepared is essential for successful fermentation. With the right ingredients and proper equipment selection, you set a strong foundation for successful homemade yogurt. Now, you’re ready to move on to preparing your milk base.
Preparing the Milk Base
To begin, select the appropriate kind of milk for your yogurt, such as whole or skim, according to your preference. Then, heat and pasteurize the milk to eliminate bacteria and guarantee a smooth fermentation process. Understanding the differences between pasteurization methods is important to ensure the milk is properly prepared. Finally, let the milk cool to the ideal temperature before adding your starter culture.
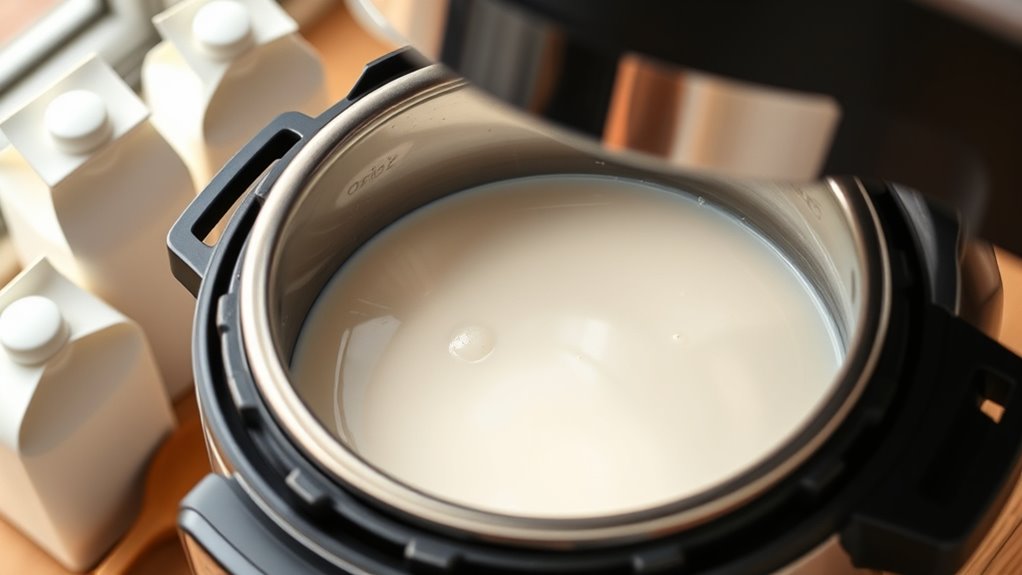
Selecting the Right Milk
Choosing the right milk is essential for making creamy, tangy yogurt in your multicooker. For the best results, opt for organic milk if possible, as it tends to have a richer flavor and fewer additives. If you prefer plant-based options, plant-based alternatives like almond, soy, or coconut milk can work well, but keep in mind they may require different preparation steps or added thickeners. Whole milk typically produces creamier yogurt, while skim milk results in a thinner texture. Always check for unsweetened and unflavored varieties to avoid altering the yogurt’s natural tang. Whichever milk you choose, verify it’s fresh and of good quality for the best creamy, smooth yogurt. Ensuring your milk is free from cybersecurity vulnerabilities can help prevent contamination or tampering during storage and handling. This foundation sets the stage for a delicious homemade yogurt experience.
Heating and Pasteurizing Milk
Heating and pasteurizing your milk guarantees it’s safe and ready for fermentation. To do this, you need to carefully control the temperature during the process. Using your multicooker’s temperature control feature, heat the milk to around 165°F (74°C). This temperature guarantees proper milk pasteurization, killing harmful bacteria and enzymes that could interfere with yogurt cultures. Keep a reliable thermometer handy to monitor the temperature accurately. Once the milk reaches the target temperature, hold it there for a few minutes to guarantee thorough pasteurization. Then, turn off the cooker and proceed to cooling. Proper temperature control during heating is essential for producing smooth, creamy yogurt and ensuring safety. This step sets a solid foundation for successful fermentation. Additionally, ensuring your multicooker operates with quiet performance can help prevent any disturbances while you monitor the process.
Cooling and Preparing for Fermentation
After reaching the target temperature and holding it briefly, it’s time to cool the milk to a temperature suitable for fermentation. Proper temperature control is vital to create the ideal fermentation environment. Remove the inner pot from the multicooker, or turn it off if it has cooled enough. Use a thermometer to monitor the milk’s temperature, aiming for around 110°F (43°C). If it’s too hot, let it cool naturally or gently stir to speed up the process. If it’s too cold, warm it slightly. Achieving the right temperature ensures the bacteria will thrive without being killed. Once cooled, transfer the milk to a clean container, cover it, and prepare for the next step in making yogurt. This step is essential for a successful fermentation process. Monitoring the gym hours can help fit this process into your busy schedule, ensuring consistent yogurt making routines.
Heating the Milk to the Right Temperature
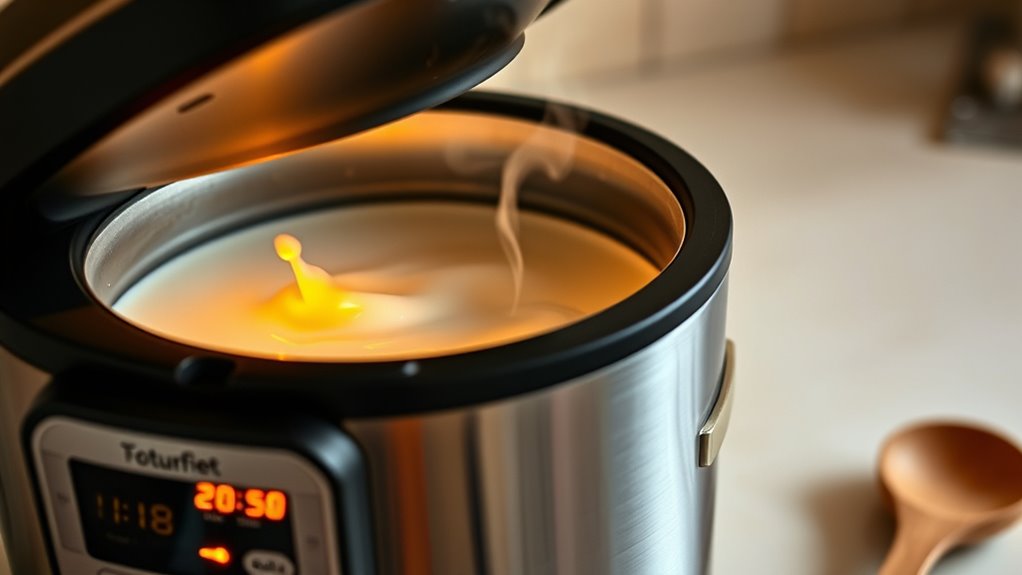
To guarantee your homemade yogurt turns out perfectly, you’ll need to heat the milk to the right temperature. Proper temperature regulation assures the milk reaches the ideal range for milk pasteurization, killing harmful bacteria and creating a safe environment for fermentation. Typically, you’ll want to heat the milk until it reaches about 180°F (82°C). Use your multicooker’s temperature control feature if available, or monitor with a reliable thermometer. Heating the milk evenly prevents scorching and secures consistent pasteurization. Once it hits the target temperature, hold it there for a few minutes to complete the process. HEPA Filtration can help keep your kitchen air clean while you’re preparing ingredients, especially if you have allergies or pets. This step is vital for developing the right texture and flavor in your yogurt, setting a solid foundation before cooling and adding the starter culture.
Cooling the Milk and Adding the Starter Culture
Once your milk cools to the right temperature, you can add the starter culture. Using proper cooling methods guarantees the milk stays safe and ready for fermentation. Maintaining the correct temperature during this stage is key to producing smooth, tangy yogurt. For those interested in efficient and reliable equipment, electric bike conversion kits like the Vetted options provide a variety of features to suit different riding needs.
Proper Milk Cooling Methods
Cooling the milk properly is essential to guarantee a smooth yogurt-making process and prevent unwanted bacteria growth. After milk pasteurization, you need to carefully regulate the temperature to avoid killing beneficial bacteria or causing spoilage. Proper cooling ensures the milk reaches the ideal temperature for adding the starter culture without compromising its quality. Maintaining the correct contrast ratio during cooling can help in monitoring the temperature change more accurately. Here are key steps to follow:
- Transfer the heated milk to a clean container.
- Use a cold water bath or refrigerate to speed up cooling.
- Stir gently to distribute cooling evenly.
- Check the temperature with a thermometer, aiming for about 110°F (43°C).
This careful temperature regulation preserves the milk’s quality and sets the stage for successful yogurt fermentation.
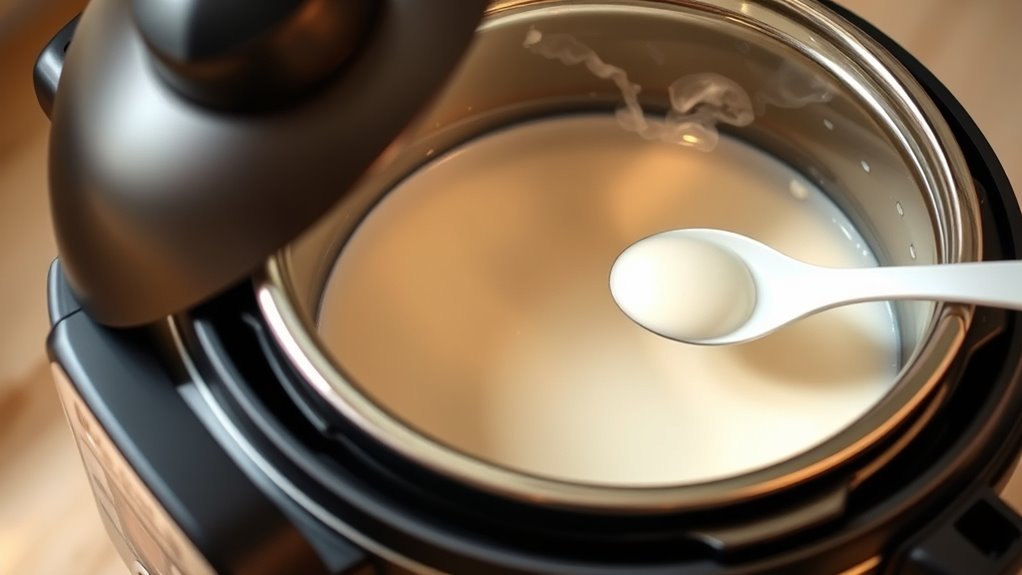
Ideal Starter Culture Addition
After successfully cooling the milk to around 110°F (43°C), you should add the starter culture promptly. Choose your starter culture type carefully; options include powdered cultures, live yogurt from another batch, or commercial starters. Each type influences the yogurt fermentation process differently, affecting flavor and texture. Stir thoroughly to evenly distribute the culture.
| Starter Culture Types | Notes on Yogurt Fermentation |
|---|---|
| Powdered Cultures | Fast, consistent results |
| Live Yogurt | Adds unique flavors, requires active cultures |
| Commercial Starters | Controlled fermentation, predictable outcomes |
Maintaining Correct Temperature
To guarantee successful yogurt fermentation, maintaining the correct temperature during cooling and when adding the starter culture is essential. Proper temperature stability ensures the bacteria thrive and produce creamy yogurt. First, use a calibrated thermometer to monitor the milk’s temperature accurately. Once the milk cools to about 110°F (43°C), it’s the right time to add the starter culture. Keep the temperature consistent by avoiding sudden temperature changes or drafts that can disrupt fermentation. Additionally, controlling the temperature is similar to managing electric bike speed to ensure optimal performance and safety during use.
Key tips include:
- Regularly check your thermometer calibration for reliable readings.
- Cool the milk gradually for even temperature reduction.
- Maintain a steady environment during incubation.
- Use a lid or cover to prevent heat loss or temperature fluctuations.
Incubating the Yogurt in Your Multicooker
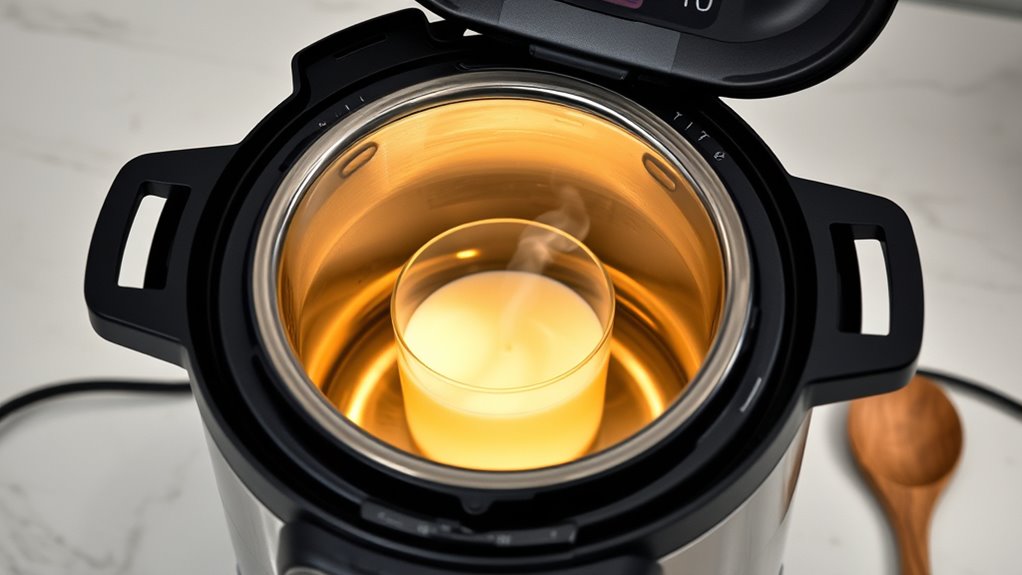
Once you’ve prepared your yogurt mixture, it’s time to incubate it in your multicooker. Set your device to the yogurt setting or keep it at a low, constant temperature suitable for culturing techniques. Cover the inner pot with a lid or a clean cloth to maintain a stable environment. Avoid opening the lid during incubation to prevent temperature fluctuations that could affect the fermentation process. Incubate for 6 to 12 hours, depending on your preferred tartness and thickness. During incubation, maintaining a consistent ambient temperature helps ensure successful fermentation. After incubation, transfer the yogurt to clean containers for yogurt storage, ensuring they’re airtight to preserve freshness. Proper culturing techniques help develop the yogurt’s flavor and texture, while good yogurt storage keeps it fresh and safe to enjoy over the following days.
Checking the Yogurt’s Consistency and Flavor
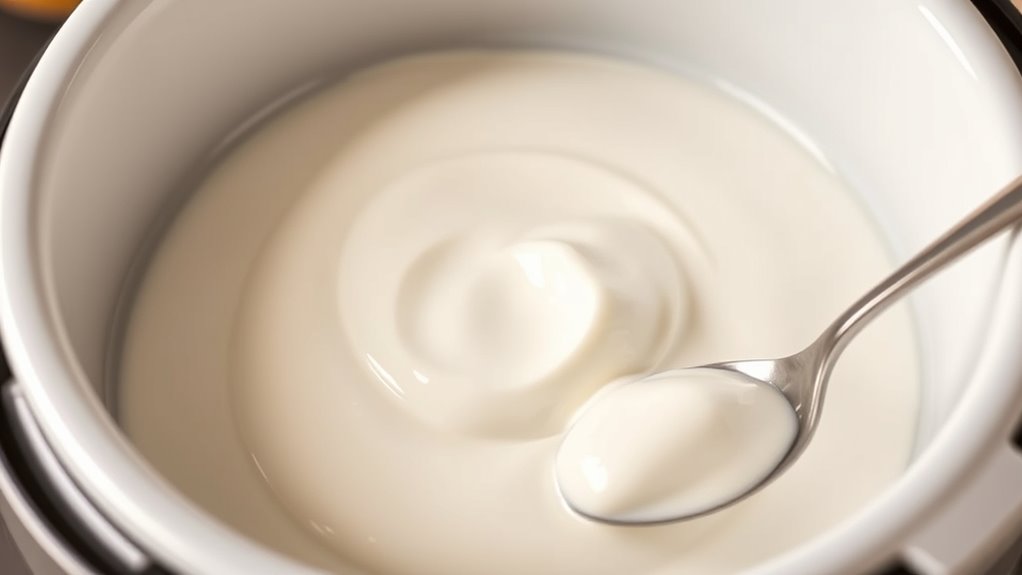
Checking the yogurt’s consistency and flavor is a vital step to guarantee it’s ready for enjoyment. Conduct a thorough texture assessment and taste evaluation to ensure it’s properly fermented. Here are key points to contemplate:
- Look for a smooth, creamy texture without excessive whey separation.
- Gently tilt the container to check for uniformity and thickness.
- Taste a small spoonful to assess tanginess and flavor balance.
- Ensure the yogurt has a mild, pleasant flavor without sour or off-notes.
If the texture feels too thin, you might need more incubation time. If the flavor is too sour, consider shortening the incubation for next time. Properly checking these aspects guarantees a delicious homemade yogurt.
Refrigerating and Storing Your Homemade Yogurt
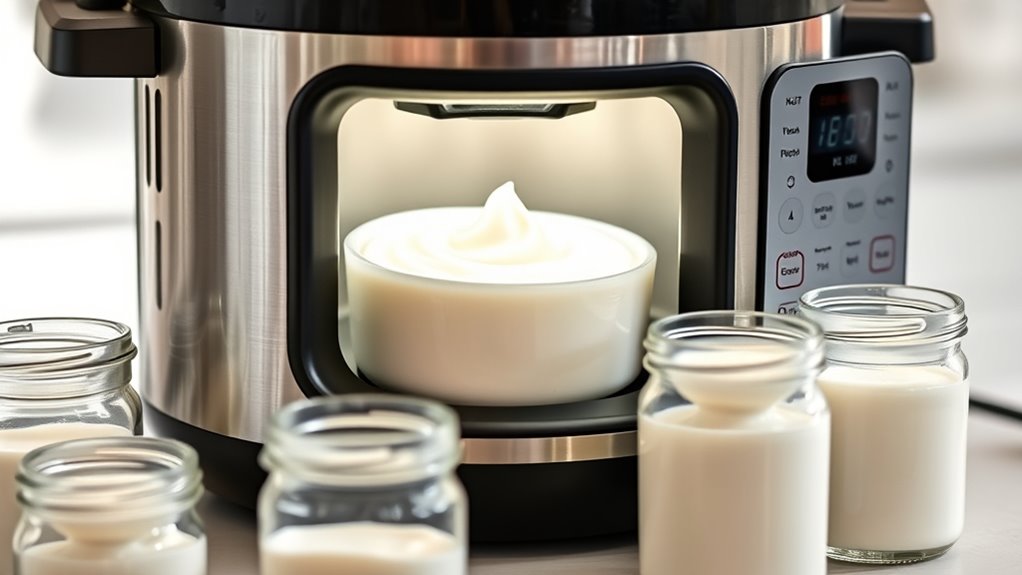
After confirming your yogurt has the right texture and flavor, it’s time to focus on preserving its freshness. Transfer the yogurt into clean storage containers with tight-fitting lids to prevent contamination and odors. Use glass or BPA-free plastic containers for the best results. When refrigerating, keep the yogurt at or below 40°F (4°C) to slow bacterial growth. Place the containers on a shelf rather than the door, where temperatures fluctuate more. Be sure to label your containers with the date you made the yogurt so you can track its freshness. Refrigeration tips include avoiding leaving the yogurt out at room temperature for extended periods and consuming it within 7-10 days for ideal taste and safety. Proper storage ensures your homemade yogurt stays delicious and safe to enjoy.
Tips for Customizing and Flavouring Your Yogurt

Looking to add a personal touch to your homemade yogurt? Customizing and flavouring it is simple and fun. Start by experimenting with fruit infusions—add fresh or dried fruits during the cooling stage for natural sweetness and vibrant flavor. Next, choose your sweetener options; honey, maple syrup, or stevia can enhance taste without overpowering the yogurt. Consider these tips:
- Mix fruit infusions directly into the yogurt before serving for a fresh burst of flavor.
- Adjust sweeteners gradually to find your perfect balance.
- Use pureed fruits or fruit preserves to create a smooth, flavored base.
- Add toppings like nuts or granola after the yogurt is set to add texture.
- Incorporate nutritious ingredients to boost the health benefits of your homemade yogurt.
Feel free to get creative and tailor your yogurt to your taste preferences!
Frequently Asked Questions
How Long Does Homemade Yogurt Typically Last in the Fridge?
Homemade yogurt usually lasts about 1 to 2 weeks in your fridge. Keep an eye on storage duration to prevent spoilage. Spoilage indicators include a sour smell, mold, or an unusual texture. To extend its freshness, store it in an airtight container and always use clean utensils. If you notice any signs of spoilage before the two-week mark, it’s safest to discard the yogurt.
Can I Use Plant-Based Milk for Making Yogurt?
Yes, you can use plant-based milk for yogurt fermentation. Many plant-based milks, like almond, coconut, or soy, work well because they contain proteins that help thicken and ferment into yogurt. Keep in mind, the texture and flavor may differ from dairy yogurt. You might need to add a probiotic starter or thickener to achieve the desired consistency. Just follow a good recipe, and you’ll enjoy delicious homemade plant-based yogurt.
What Are Signs That My Yogurt Has Gone Bad?
Imagine your yogurt as a tiny city—when it’s thriving, it’s vibrant, but signs of trouble appear. If you notice an odd odor change or a sour smell, it’s like the city’s air turning foul. Mold growth is another clear warning, like invasive weeds taking over. These signs mean your yogurt has gone bad, and it’s time to toss it out for safety. Trust your senses to keep your snack fresh and safe.
How Can I Make Thicker Yogurt Without Added Thickeners?
To make thicker yogurt naturally, focus on your yogurt’s texture during the process. Use full-fat milk for creamier, thicker results, and strain the yogurt through a cheesecloth or fine sieve to drain excess whey, enhancing natural thickening. Letting the yogurt sit longer during incubation also helps develop a creamier, denser consistency. These methods improve your yogurt’s texture without adding thickeners, giving you a richer, more satisfying homemade product.
Is It Safe to Reuse the Starter Culture for Multiple Batches?
Reusing yogurt starter can be safe if you pay attention to starter culture longevity. You might reuse it for a few batches, but over time, its effectiveness decreases, leading to weaker fermentation. To guarantee safety and good taste, monitor the bacteria activity and consider revitalizing the starter culture every few batches. This way, you keep reusing yogurt starter safely and maintain consistent yogurt quality.
Conclusion
Now that you’ve mastered making yogurt in your multicooker, you’re all set to enjoy fresh, homemade goodness anytime. With a little patience and practice, you’ll turn this into second nature. Remember, Rome wasn’t built in a day, so don’t get discouraged if your first batch isn’t perfect. Keep experimenting with flavors and techniques, and soon you’ll have a delicious treat that’s truly worth its weight in gold. Happy yogurt making!