
Getting your new KitchenAid Artisan Series 5 Quart Tilt Head Stand Mixer ready for use is straightforward if you follow the proper setup steps. This guide will walk you through assembling, attaching accessories, and troubleshooting common issues to ensure you get the best performance from your mixer.
Whether you’re a beginner or upgrading your kitchen tools, understanding the right setup process is essential for safe operation and perfect baking results.
Key Takeaways
| Easy assembly | Follow simple steps to assemble your mixer securely. |
| Attachment tips | Properly attach accessories for optimal performance. |
| Safety first | Ensure the mixer is unplugged during setup to prevent accidents. |
| Troubleshooting | Identify and resolve common setup issues quickly. |

KitchenAid Artisan Series 5 Quart Tilt Head Stand Mixer with Pouring Shield KSM150PS, Milkshake
Built to take it all on with the durable and built-to-last metal construction, and 59 touchpoints around the...
As an affiliate, we earn on qualifying purchases.
Unboxing and Initial Inspection
- Carefully remove the mixer from its packaging, ensuring all parts and accessories are included.
- Inspect the unit for any visible damage or missing components, such as the pouring shield or attachments.
- Read the user manual thoroughly to familiarize yourself with the parts and safety instructions.

KitchenAid Stand Mixer Attachment, Food Grinder KSMMGA, Metal Food Grinder
Connect to any household KitchenAid Stand Mixer power hub and use the power of the motor to run...
As an affiliate, we earn on qualifying purchases.
Assembling the Mixer Body and Bowl
- Place the mixer on a stable, flat surface, ensuring it is unplugged.
- Align the stainless steel bowl with the bowl lock and turn it clockwise until it clicks into place.
- Check that the tilt-head mechanism is functioning smoothly by gently tilting the head back and forth—do not force it.
Attaching Accessories
- Attach the flat beater, wire whip, or dough hook by aligning the attachment hub with the power port and turning clockwise until securely locked.
- For the pouring shield, fit it onto the bowl, ensuring it clicks into place for safe ingredient addition.
- If using optional attachments like the Food Grinder or Pasta Roller, connect them to the power hub following the attachment-specific instructions.
Powering Up and Testing
- Ensure all attachments are securely installed.
- Plug in the mixer and turn it to the lowest speed to test stability.
- Gradually increase to higher speeds to check for unusual vibrations or noises, stopping immediately if issues arise.
Troubleshooting Common Setup Issues
If your mixer doesn’t turn on, verify the power connection and ensure the head is properly locked in the upright position. If attachments won’t lock securely, check alignment and cleanliness of the attachment hub. For excessive vibrations, ensure the bowl and attachments are properly seated. Always disconnect from power before adjusting or inspecting parts.
The Products in This Guide

KitchenAid Artisan Series 5 Quart Tilt Head Stand Mixer
- ✔ Voltage: 120V
- ✔ Included Accessories: Pouring shield, flat beater, wire whip, dough hook
- ✔ Warranty: 1 year

KitchenAid Stand Mixer Attachment
- ✔ Power: Uses mixer motor
- ✔ Includes: Multiple grinding plates
- ✔ Color: Metal finish
KitchenAid Artisan Series 5 Quart Tilt Head Stand Mixer
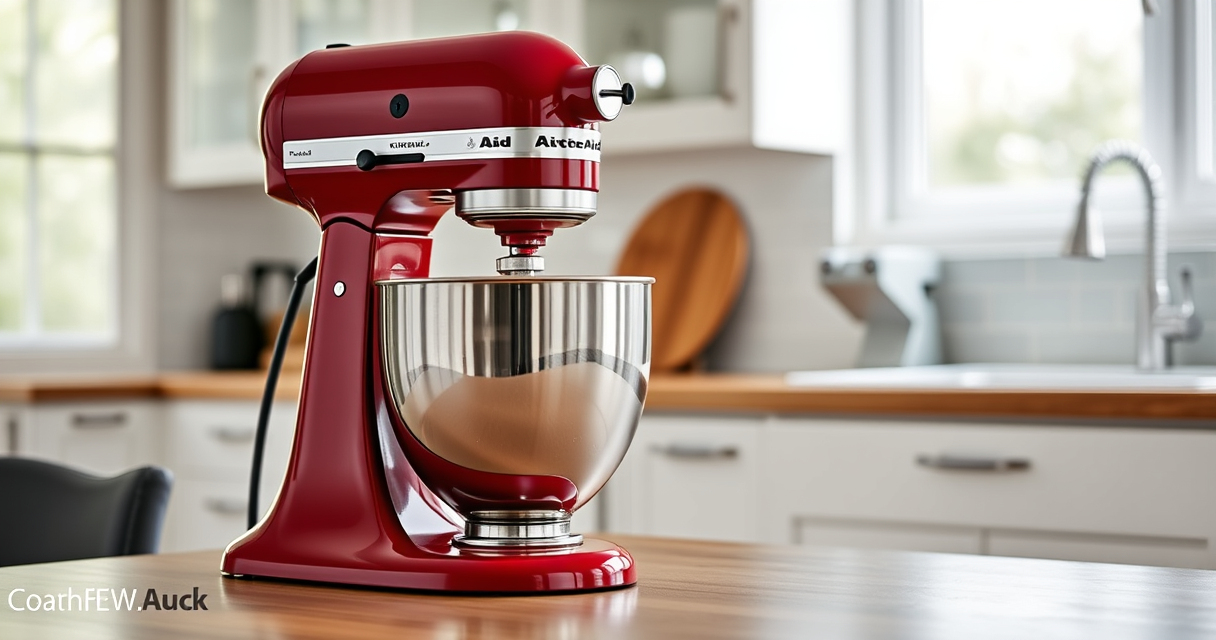
The KitchenAid Artisan Series 5 Quart Tilt Head Stand Mixer is built with durable metal construction and features 59 touchpoints for thorough mixing. Its tilt-head design offers easy access to the bowl, making it simple to add ingredients and switch attachments. With 10 speeds and a generous 5-quart capacity, it handles small or large batches with ease. The mixer is available in over 20 colors, allowing you to match your kitchen decor.
Pros:
- Durable metal construction
- Easy tilt-head access
- Large 5-quart capacity
- Multiple color options
Cons:
- Can be heavy to move
- Requires space for storage
- Attachments sold separately
Best for: Home bakers wanting a reliable, stylish stand mixer
Not ideal for: Commercial use or very small kitchens with limited space
Bottom line: A versatile, durable mixer that elevates home baking.
KitchenAid Stand Mixer Attachment
The KitchenAid Stand Mixer Attachment Food Grinder transforms your mixer into a meat grinder, perfect for fresh ground meats, sausages, and more. It’s easy to attach and clean, making it an excellent addition for those who want more culinary flexibility.
Pros:
- Sturdy metal construction
- Multiple grinding plates included
- Easy to attach and clean
- Allows for fresh, customizable ingredients
Cons:
- Additional cost for attachments
- Requires a compatible mixer
- Bulkier storage
Best for: Home cooks interested in fresh grinding and sausage making
Not ideal for: Those without a compatible KitchenAid mixer or limited storage space
Bottom line: Perfect for homemade sausages and ground meats.
Frequently Asked Questions
Can I use any attachment with my KitchenAid Artisan mixer?
Only attachments designed for KitchenAid stand mixers that fit the power hub are compatible. Always check the attachment specifications.
How do I clean the attachments properly?
Most attachments can be wiped with a damp cloth. Some, like the pasta roller, include cleaning tools. Never submerge electrical parts in water.
Why is my mixer vibrating excessively?
Ensure the bowl and attachments are properly secured. Excessive vibrations may indicate misalignment or an unbalanced load.
Can I run the mixer for extended periods?
While the KitchenAid Artisan is built for frequent use, avoid running it continuously for more than 10 minutes to prevent overheating.
What should I do if the mixer head won’t tilt back?
Check for obstructions or debris in the tilt mechanism. Ensure the lock lever is fully released before tilting.
Master Your KitchenAid Mixer Setup for Delicious Creations
Setting up your KitchenAid Artisan stand mixer correctly ensures safe operation and optimal results. Take your time during assembly, double-check attachments, and troubleshoot any issues with confidence. With proper setup, your mixer will be a reliable partner in all your culinary adventures, from baking cookies to making fresh pasta or grinding meats.
Affiliate disclosure: As an Amazon Associate we earn from qualifying purchases. Prices and availability are accurate as of the time of publishing.